Coolify
Learn how to deploy your supastarter application with Coolify.
This guide will show you how to deploy your supastarter application with Coolify to your own server.
Coolify builds your app into a Docker container (usually with Nixpacks) and proxies traffic with automatic HTTPS. For a TanStack Start monorepo like supastarter, you mainly need to point Coolify at the SaaS app, start the Nitro/Node server output, and expose port 3000.
Setup Coolify
Before you can deploy your supastarter application with Coolify, you need a server with Coolify installed (or a Coolify Cloud account) and a Git repository with your project.
Follow the Coolify installation guide to get started.
Production builds can be memory-heavy. Use at least 4 GB RAM on the server
that runs the build (or configure a dedicated Coolify build server). If builds
fail with heap out of memory errors, set
NODE_OPTIONS=--max-old-space-size=4096 as a build environment variable.
Deploy your supastarter application
Create a new project
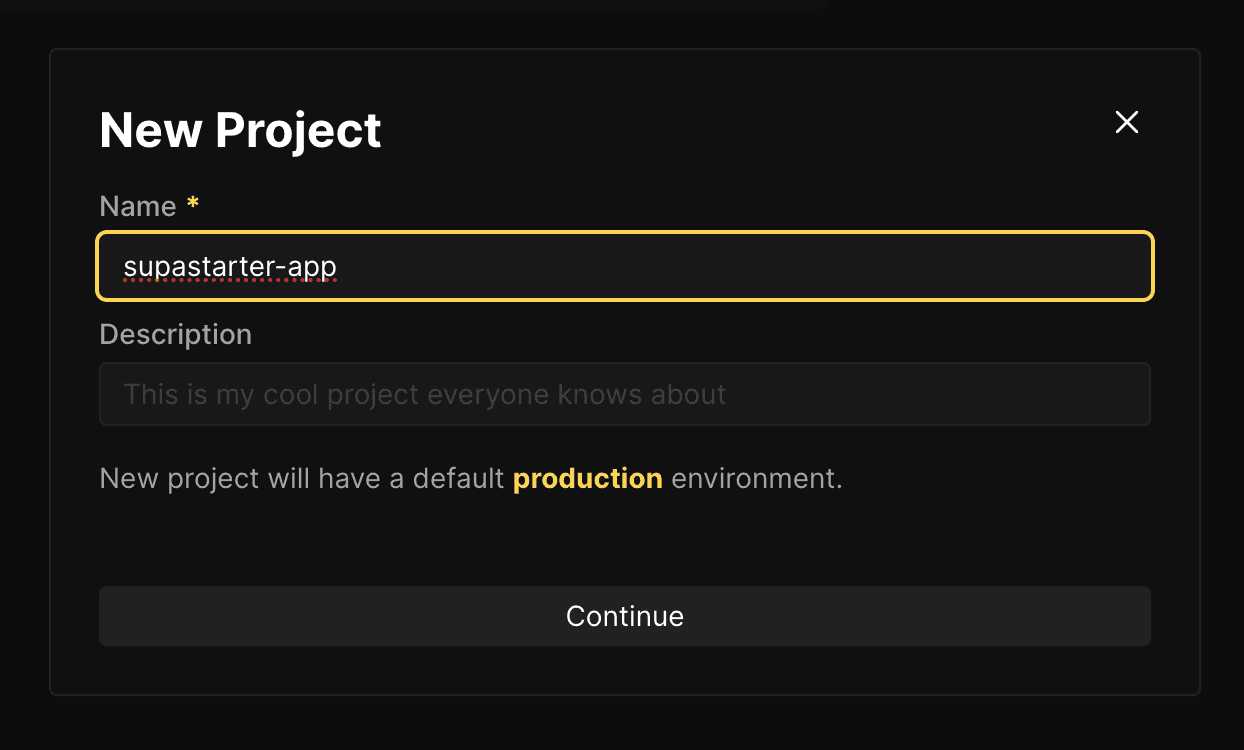
First create a new project in Coolify.
Add a new resource
Select the Production environment and click Add a new resource.
Choose Private Repository (with Github App):
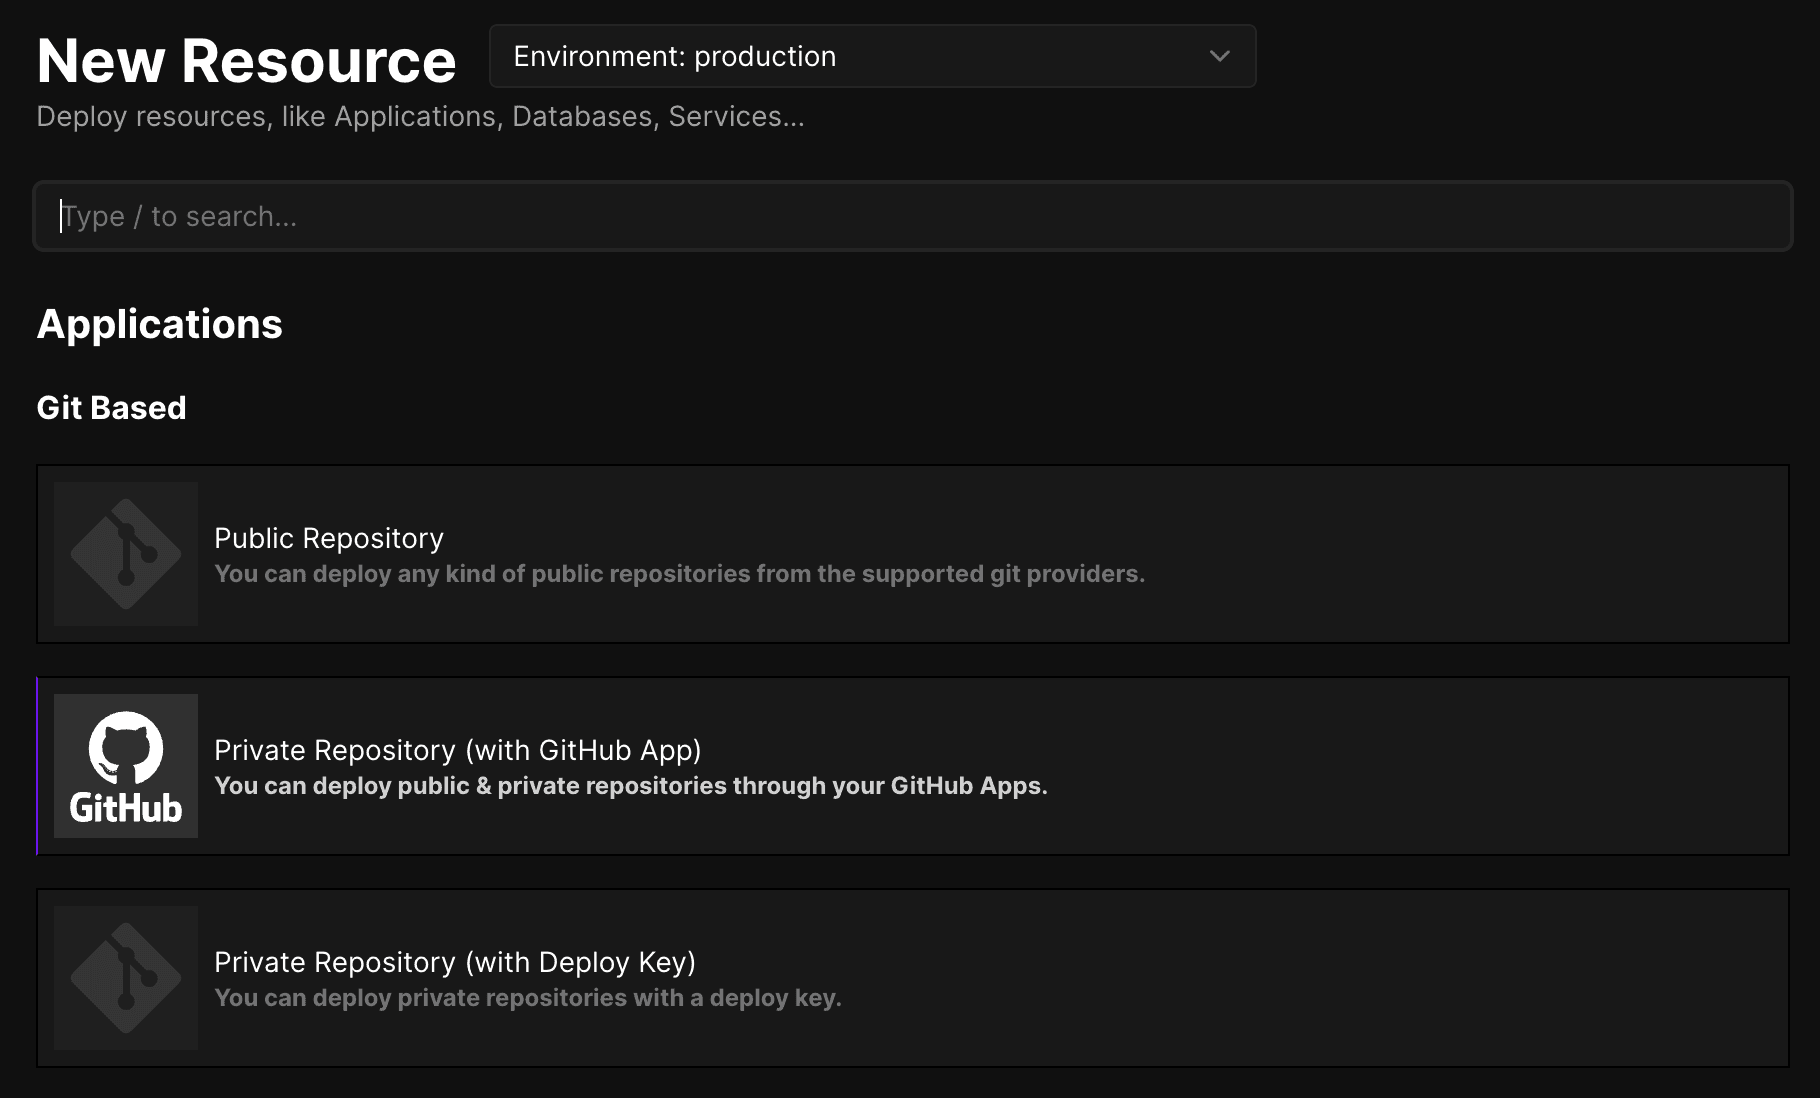
You can also use Public Repository or Private Repository (with Deploy Key) if that fits your setup better. See the Coolify GitHub integration docs for details.
Connect your Github repository (with Github App)
If you haven't already created a Github App that connects your Coolify instance to your Github repository, you will be asked to create one.
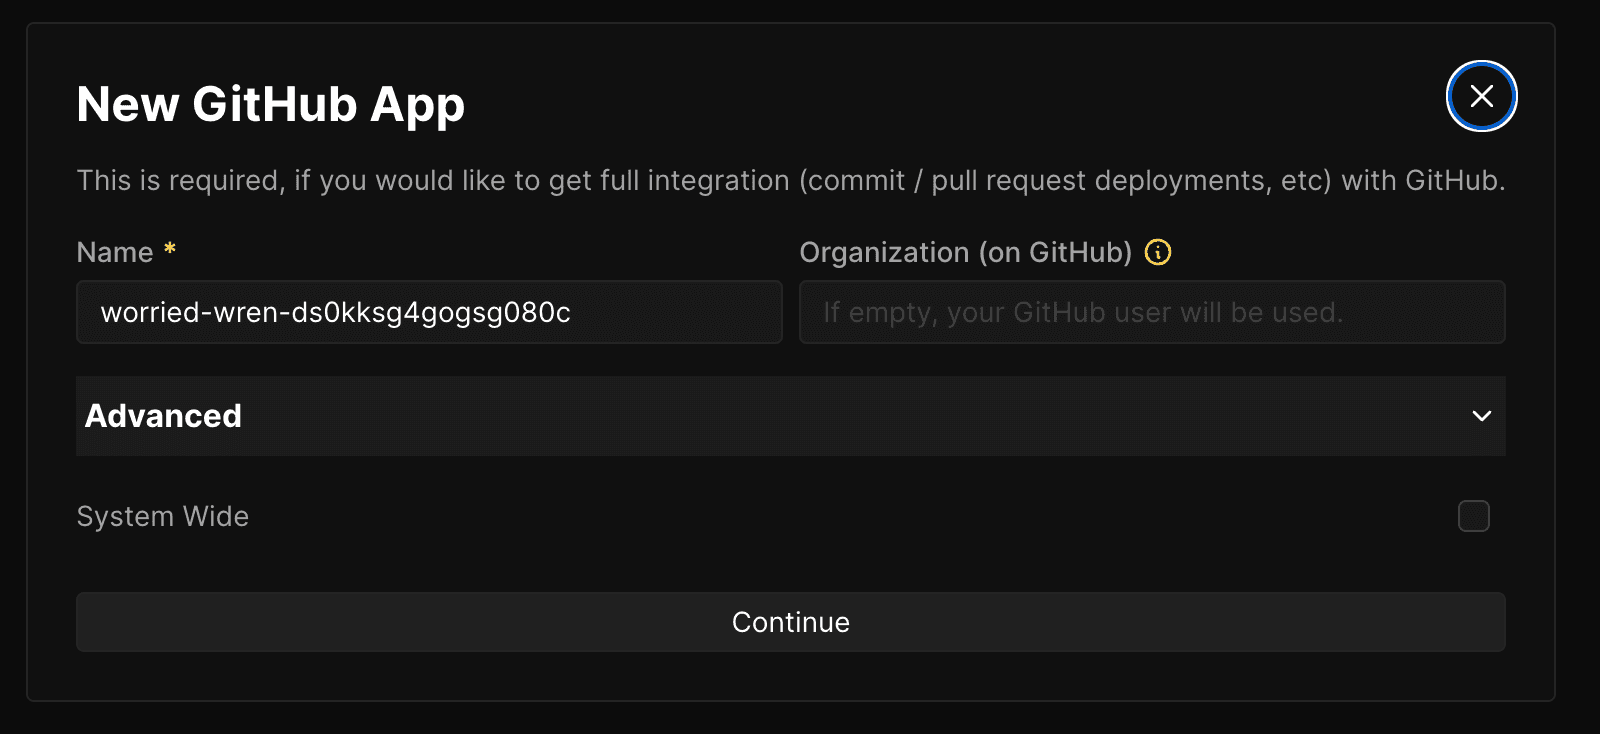
Follow the instructions to create a Github App and connect it to your Coolify instance.
Create a new application
After you have connected your Github repository, you can create a new application by selecting the Github App connection you just created and then selecting the repository you want to deploy:
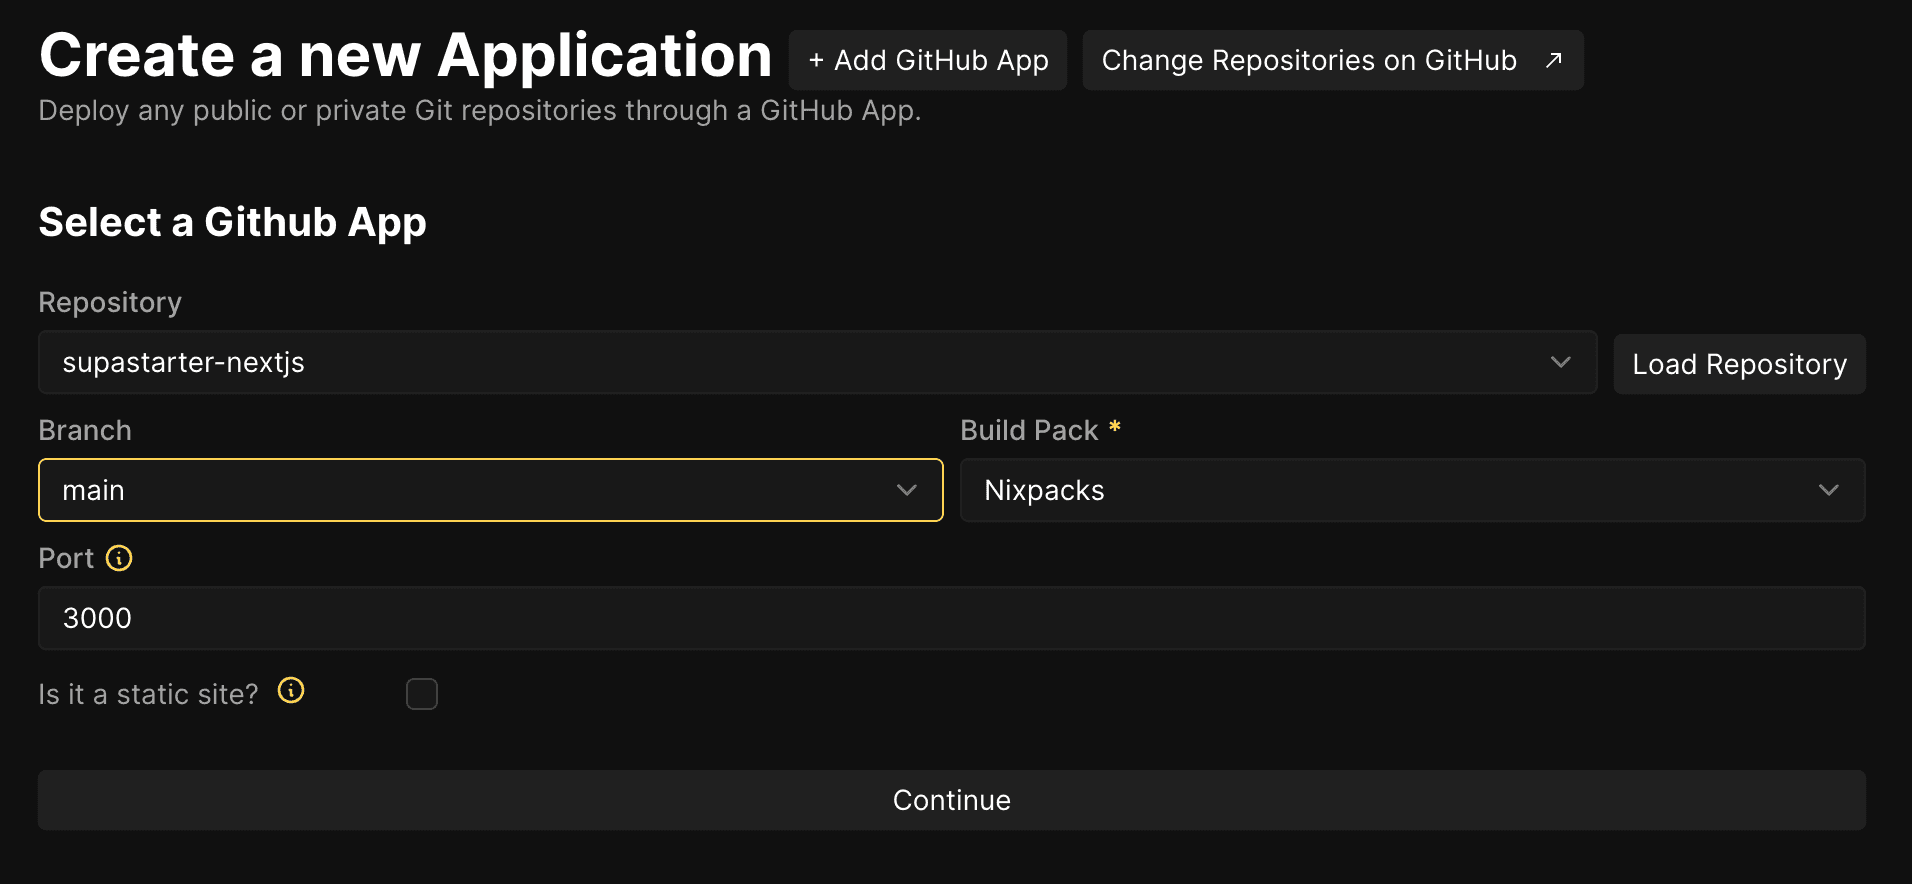
Make sure to select the branch you want to deploy, like main.
Configure the application
You will be redirected to the application configuration page. Here you need to configure the build settings for your application.
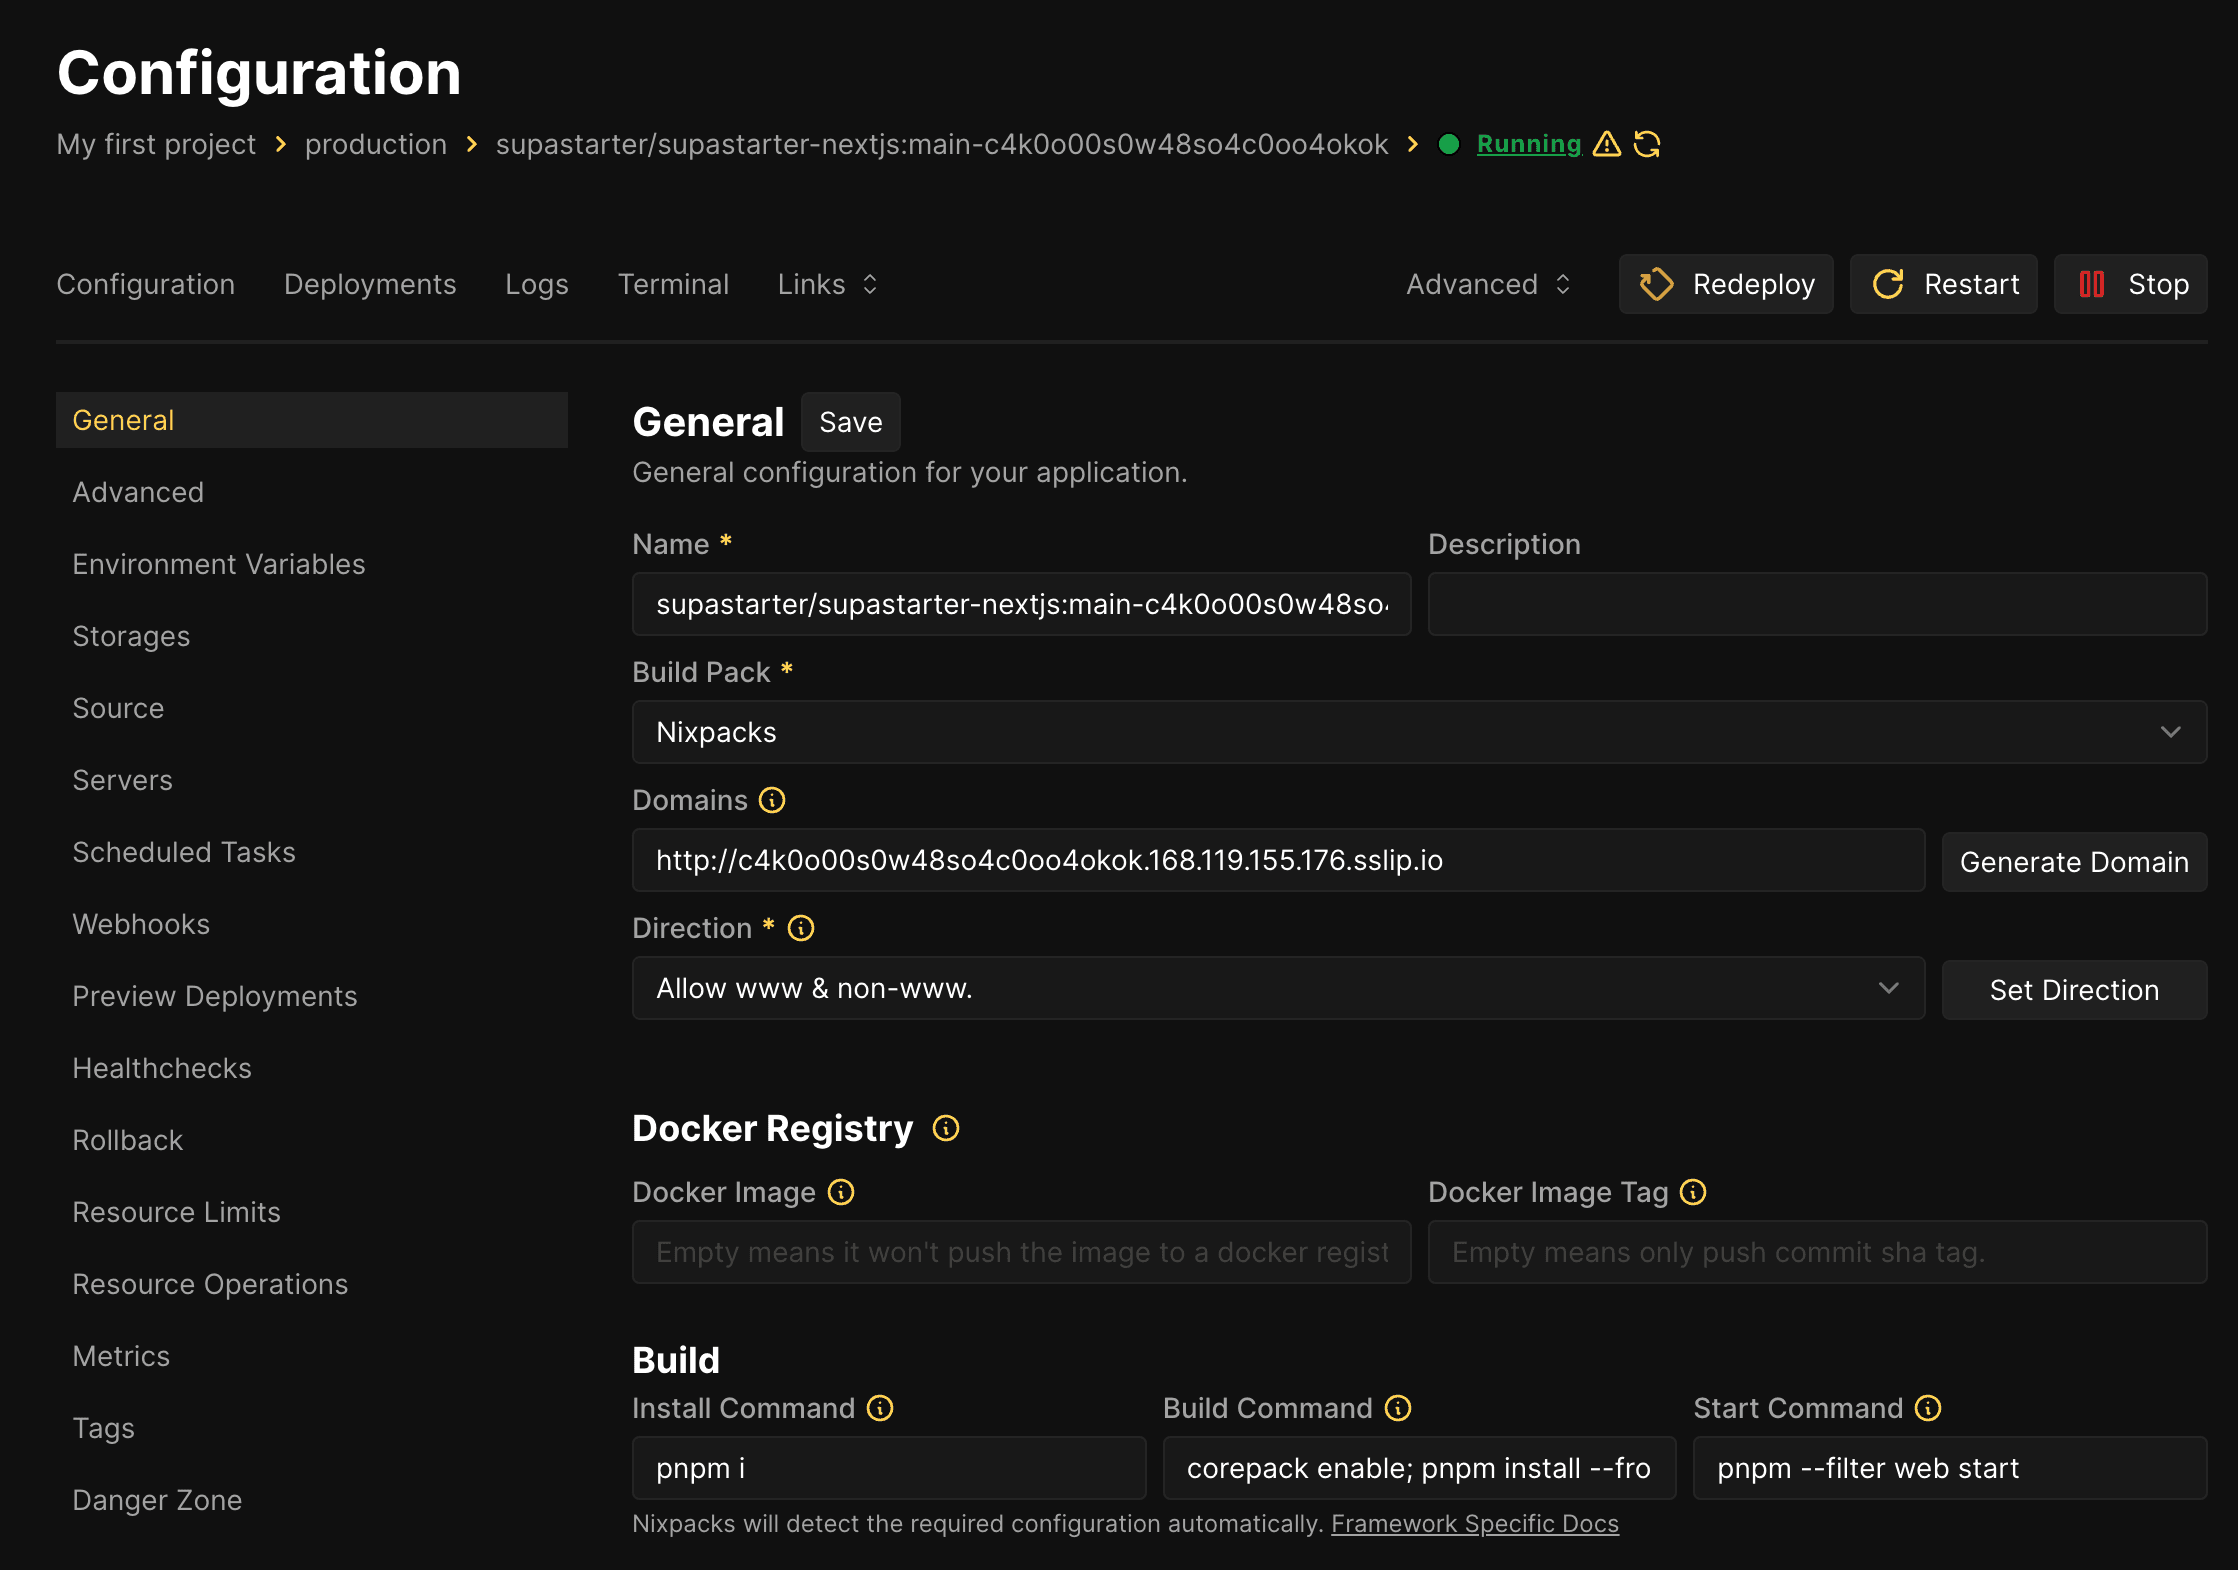
Set the following values on the General tab:
- Build Pack:
Nixpacks - Base Directory:
/(repository root of the monorepo) - Ports Exposes:
3000 - Install Command:
pnpm install(or leave empty so Nixpacks detects it from the lockfile) - Build Command:
corepack enable && pnpm install --frozen-lockfile && pnpm --filter saas build - Start Command:
cd apps/saas && pnpm start
Start the app from apps/saas instead of pnpm --filter saas start. Coolify's Turborepo examples recommend changing into the app directory for the start command, because Turbo pipelines often do not define a start task.
If your SaaS app uses Nitro's Node server output and the start script is not already wired up, use:
cd apps/saas && node .output/server/index.mjsIf you prefer full control over the build, switch Build Pack to Dockerfile and start the container with your SaaS app's Node server entry (typically node .output/server/index.mjs or the start script in apps/saas).
Add environment variables
Before we deploy the application, add the environment variables in the Environment Variables tab.
Add all the envs from the .env.local file in your project root and make sure to use production values here.
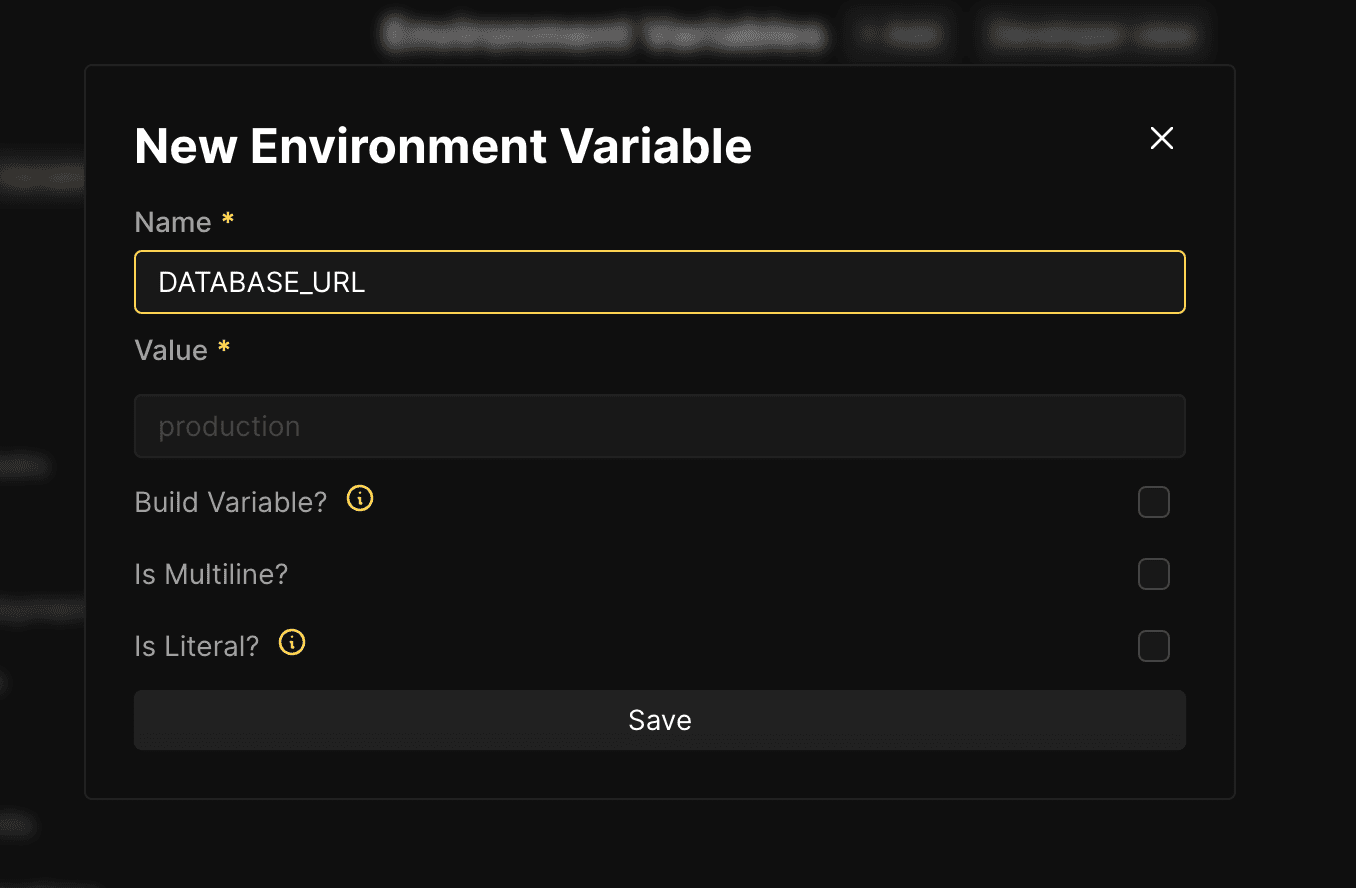
Mark variables that the client bundle needs during the build (especially NEXT_PUBLIC_* values) as build variables in Coolify. Keep secrets such as DATABASE_URL and API keys as runtime-only when possible.
Deploy the application
Now you can click the Deploy button to deploy your application. This will start the build process and deploy your application to your server.
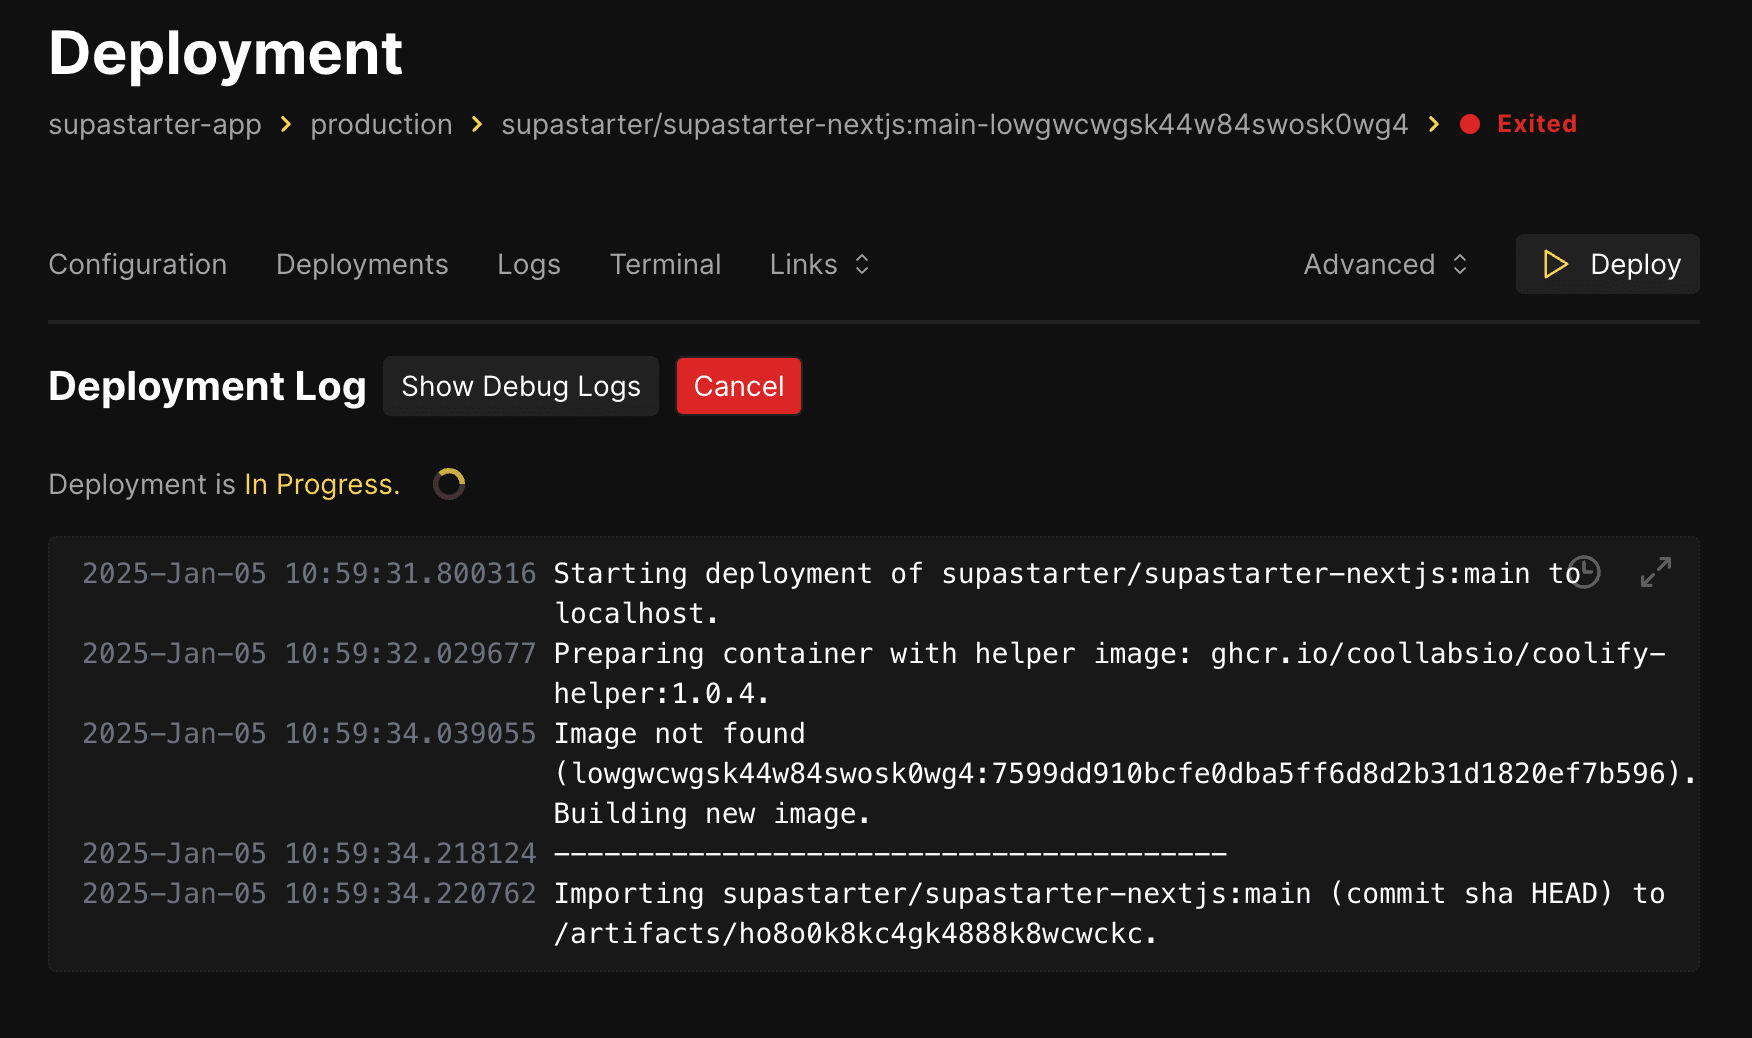
After the build process is finished, your application will be deployed to your server.
You probably want to assign a custom domain to your application. You can do this by setting it in the Domain field on the configuration page.

Lastly, set the defined domain as the NEXT_PUBLIC_SITE_URL environment variable in the Environment Variables tab (as a build and runtime variable) and redeploy the application by clicking the Redeploy button in the top right corner.
Now you have a fully working supastarter application deployed to your own server.